✅타임리프 실습 이유
- JSP와 유사하게 ${ } 이용 가능
- Model에 담긴 객체를 화면에서 JS로 처리하기 편리함.
- 연산이나 포맷과 관련된 기능을 지원함.
- .html 파일 생성 시 문제가 없고 별도의 확장자를 이용하지 않음.
🤍Thymeleaf 이용 프로젝트 생성
Spring Boot DevTools / Lombok / Spring Web / Thymeleaf 추가

타임리프를 이용하는 프로젝트는 변경 후 만들어진 결과를 보관(캐싱)하지 않도록 설정해두는 것이 편리함.
application.properties 파일에 아래 코드 추가
spring.thymeleaf.cache=false
SampleController 클래스 생성
@Controller
@RequestMapping("/sample")
@Log4j2
public class SampleController {

    @GetMapping("/ex1")
    public void ex1(){
        log.info("ex1...........");
    }
 }
ex1.html 생성
<!DOCTYPE html>
<html lang="en" xmlns:th="http://www.thymeleaf.org">
<head>
<meta charset="UTF-8">
<title>Title</title>
</head>
<body>
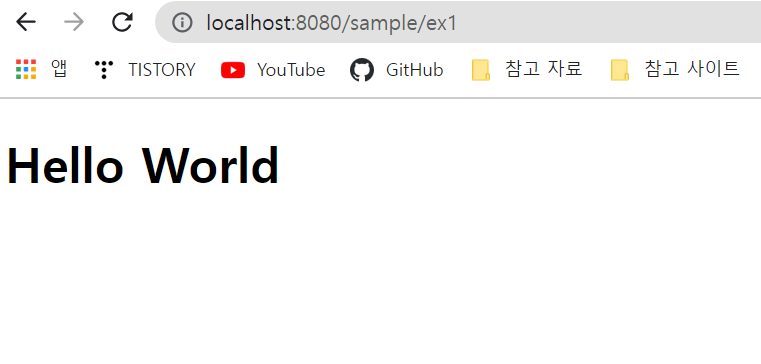
<h1 th:text="${'Hello World'}"></h1>
</body>
</html>
/sample/ex1 실행
SampleDTO 클래스 생성
import lombok.Builder;
import lombok.Data;

import java.time.LocalDateTime;

@Data
@Builder(toBuilder = true)
public class SampleDTO {

    private Long sno;
    private String first;
    private String last;
    private LocalDateTime regTime;
}
🤍타임리프 기본 사용법 (1) 반복문
 @GetMapping("/ex2")
    public void exModel(Model model){
        List<SampleDTO> list = IntStream.rangeClosed(1,20).asLongStream().mapToObj(i->{
            SampleDTO dto = SampleDTO.builder().sno(i).first("First.."+i).last("Last.."+i).regTime(LocalDateTime.now()).build();
            return dto;
        }).collect(Collectors.toList());
        //SampleDTO 타입의 객체를 20개 추가하고 이를 Model에 담아 전송함.
        model.addAttribute("list",list);
    }
Thymeleaf에서 반복문은 th:each라는 속성을 이용함.
th:each = "변수 : ${목록}"
ex2.html 파일 생성
- <li> 태그 내에 dto라는 변수를 만들고 컨트롤러 Model로 전달된 데이터는 ${list}를 이용해서 처리함.
- [[ ]] : 인라인 표현식으로 별도의 태그 속성으로 지정하지 않고 사용할 때 유용하게 쓸 수 있다.
<!DOCTYPE html>
<html lang="en" xmlns:th="http://www.thymeleaf.org">
<head>
<meta charset="UTF-8">
<title>Title</title>
</head>
<body>
<ul>
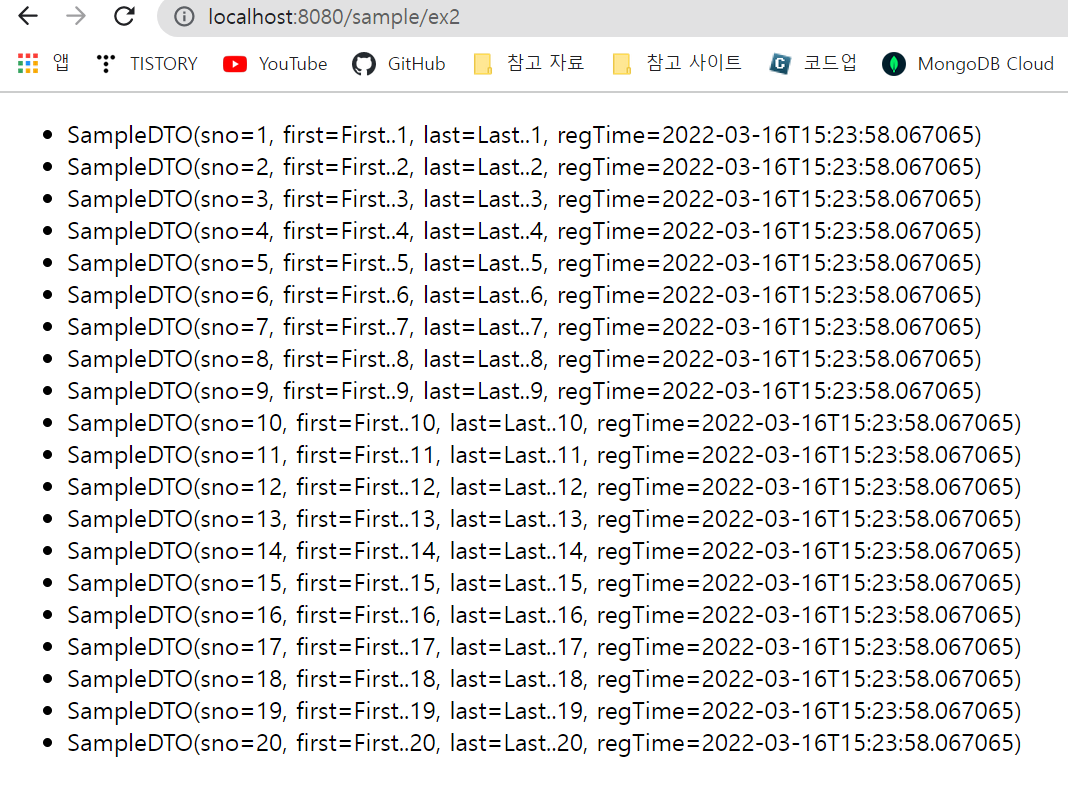
<li th:each="dto:${list}">
[[${dto}]]
</li>
</ul>
</body>
</html>
/sample/ex2 실행 결과
✅반복문의 상태(state) 객체
- 순번, 인덱스 번호, 홀수&짝수 등을 지정할 수 있음.
- index는 0부터 시작하고 count는 1부터 시작함.
<!DOCTYPE html>
<html lang="en" xmlns:th="http://www.thymeleaf.org">
<head>
    <meta charset="UTF-8">
    <title>Title</title>
</head>
<body>
    <ul>
        <li th:each="dto, state :${list}">
            [[${state.index}]] --- [[${dto}]]
        </li>
    </ul>
</body>
</html>
실행 결과를 보면 0부터 시작하는 번호가 추가된 것을 확인할 수 있다.

🤍타임리프 기본 사용법 (2) 제어문
타임리프의 제어문 처리는 th:if ~ unless 등을 이용할 수도 있고 삼항연산자 스타일을 사용할 수도 있음.
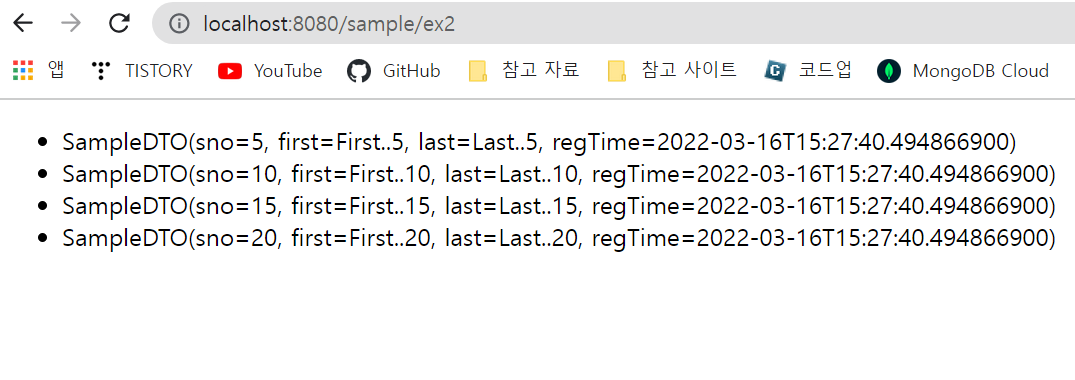
ex) sno의 값이 5의 배수인 것만 출력하고 싶을 때
<!DOCTYPE html>
<html lang="en" xmlns:th="http://www.thymeleaf.org">
<head>
    <meta charset="UTF-8">
    <title>Title</title>
</head>
<body>
    <ul>
        <li th:each="dto, state :${list}" th:if="${dto.sno %5 ==0}">
           [[${dto}]]
        </li>
    </ul>
</body>
</html>
출력 결과
th:if와 th:unless를 이용하면 상황에 맞게 다른 내용을 출력할 수 있다.
ex)sno가 5로 나눈 나머지가 0인 경우 sno만을 출력하고 그렇지 않다면 SampleDTO의 first를 출력하고 싶을 때
<!DOCTYPE html>
<html lang="en" xmlns:th="http://www.thymeleaf.org">
<head>
    <meta charset="UTF-8">
    <title>Title</title>
</head>
<body>
    <ul>
        <li th:each="dto, state :${list}">
            <span th:if="${dto.sno %5 ==0}" th:text="${'-------------'+dto.sno}"></span>
            <span th:unless="${dto.sno %5 ==0}" th:text="${dto.first}"></span>
        </li>
    </ul>
</body>
</html>
실행 결과

🤍타임리프 기본 사용법 (3) inline 속성
- 인라인 속성은 주로 자바스크립트 처리에서 유용함.
- 내부적으로 RedirectAttributes를 이용하여 /ex3으로 result와 dto라는 이름의 데이터를 심어서 전달함. result는 단순한 문자열이지만 dto는 SampleDTO의 객체임.
GetMapping({"/exInline"})
    public String exInline(RedirectAttributes redirectAttributes){
        log.info("exInline...........");

        SampleDTO dto = SampleDTO.builder().sno(100L).first("First..100").last("Last..100").regTime(LocalDateTime.now()).build();
        redirectAttributes.addFlashAttribute("result","success");
        redirectAttributes.addFlashAttribute("dto",dto);

        return "redirect:/sample/ex3";
    }
<script> 태그에 사용된 th:inline 속성이 핵심임.
<!DOCTYPE html>
<html lang="en" xmlns:th="http://www.thymeleaf.org">
<head>
    <meta charset="UTF-8">
    <title>Title</title>
</head>
<body>
    <h1 th:text="${result}"></h1>
    <h1 th:text="${dto}"></h1>

    <script th:inline="javascript">
        var msg = [[${result}]];
        var dto = [[${dto}]];
    </script>
</body>
</html>
실행 결과를 보면
별도의 처리 없이 자바스크립트 부분이 만들어짐, dto는 JSON 포맷의 문자열이 된 것을 볼 수 있다.

🤍타임리프 기본 사용법 (4) 링크 처리
먼저 exModel()을 재사용하도록 아래와 같이 코드 수정.
  @GetMapping({"/ex2", "/exLink"})
    public void exModel(Model model){
        List<SampleDTO> list = IntStream.rangeClosed(1,20).asLongStream().mapToObj(i->{
            SampleDTO dto = SampleDTO.builder().sno(i).first("First.."+i).last("Last.."+i).regTime(LocalDateTime.now()).build();
            return dto;
        }).collect(Collectors.toList());
        //SampleDTO 타입의 객체를 20개 추가하고 이를 Model에 담아 전송함.
        model.addAttribute("list",list);
    }
exLink.html 생성
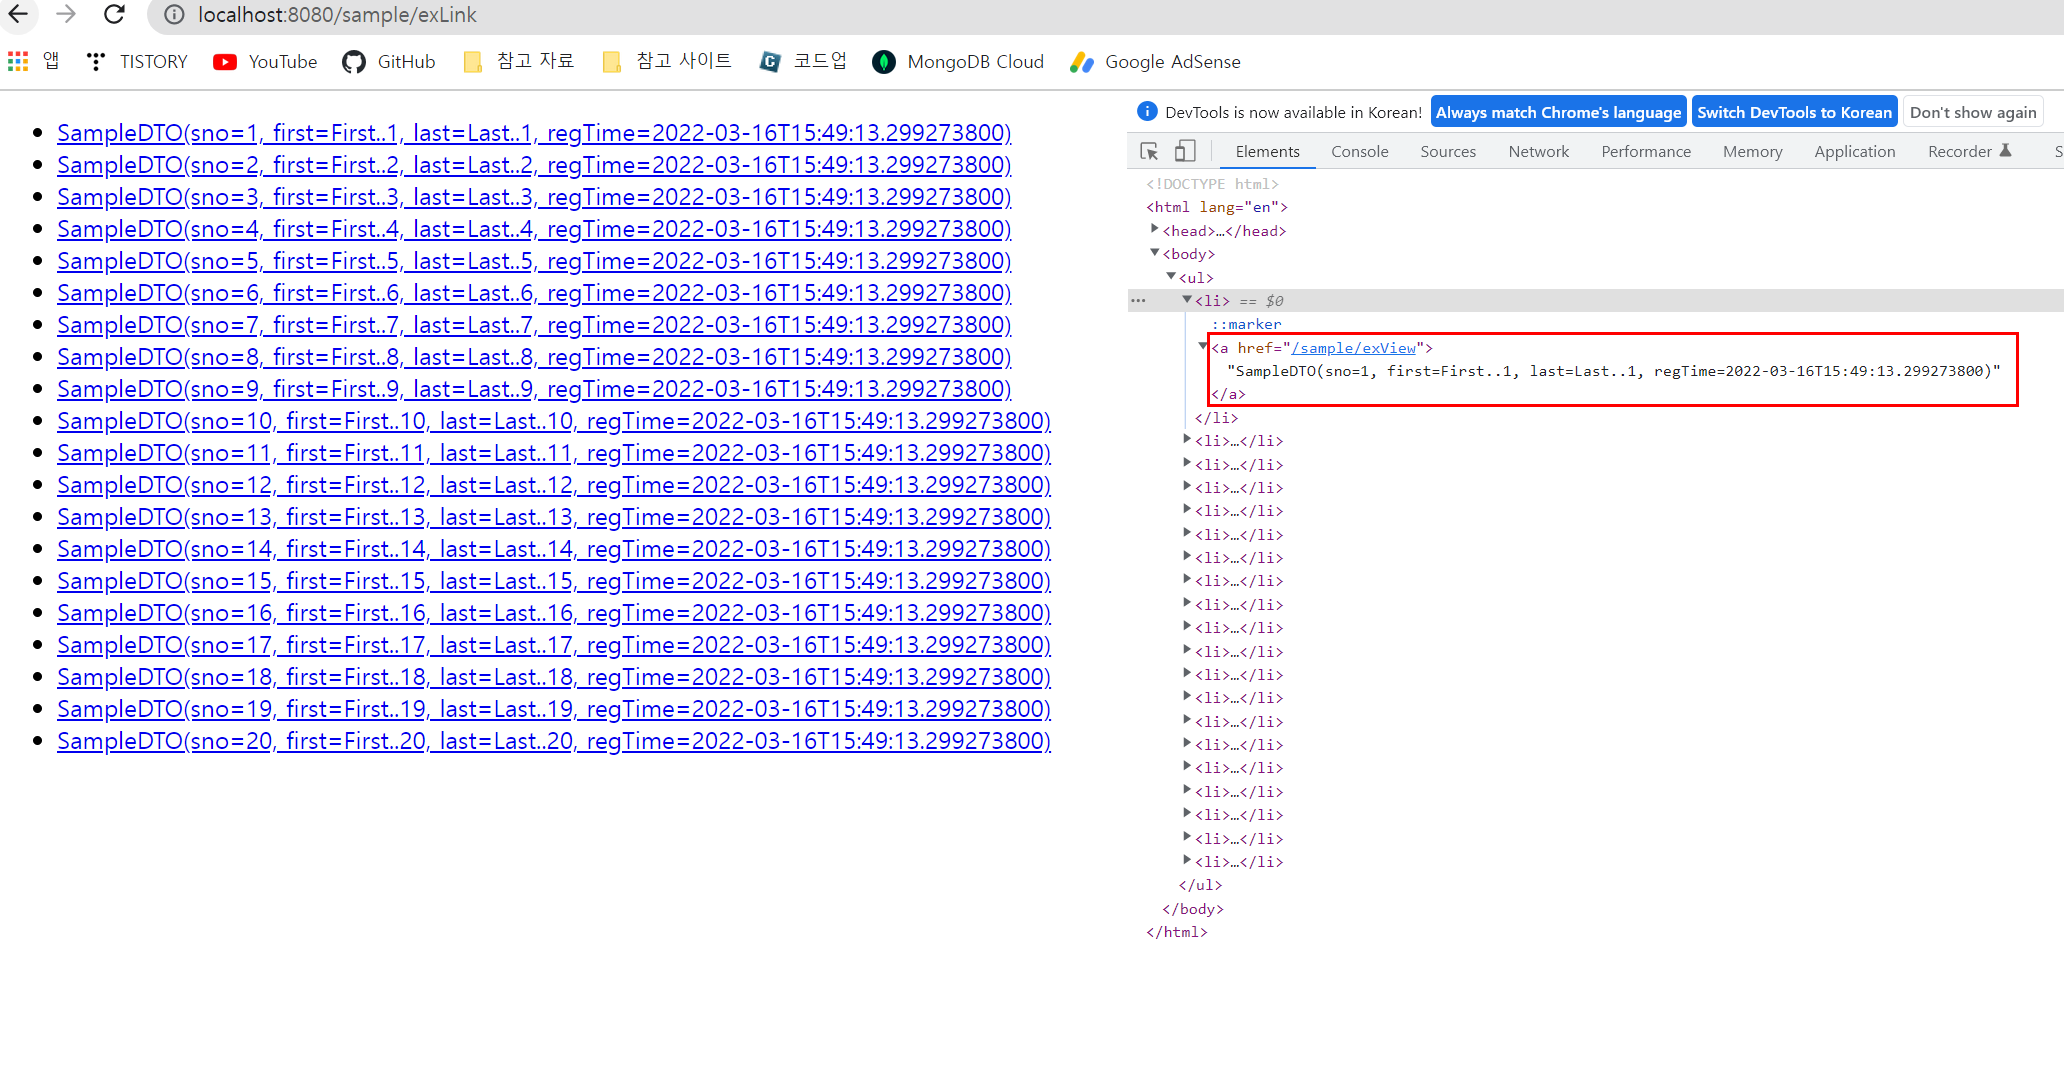
- @{ } 로 구성된 링크를 처리함.
<!DOCTYPE html>
<html lang="en" xmlns:th="http://www.thymeleaf.org">
<head>
    <meta charset="UTF-8">
    <title>Title</title>
</head>
<body>
    <ul>
        <li th:each="dto : ${list}">
            <a th:href="@{/sample/exView}">[[${dto}]]</a>
        </li>
    </ul>
</body>
</html>
실행 결과
🤍타임리프 기본 사용법 (5) 레이아웃
✅타임리프의 레이아웃 기능은 크게 2가지 방법이 있다.
- JSP의 include와 같이 특정 부분을 가져와서 포함하는 방식
- 특정 부분을 파라미터로 전달해서 내용에 포함하는 방식
SampleController 코드 작성
@GetMapping("/exLayout1")
public void exLayout1(){
    log.info("exLayout................");
}
fragment1.html 생성
특정 부분을 다른 내용으로 변경하려면 th:insert or th:replace를 사용할 수 있다.
<!DOCTYPE html>
<html lang="en" xmlns:th="http://www.thymeleaf.org">
<head>
    <meta charset="UTF-8">
    <title>Title</title>
</head>
<body>
    <h1>Fragment Test</h1>

    <h1>Layout 1 - 1</h1>
    <div th:replace="~{/fragments/fragment1 :: part1}"></div>

    <h1>Layout 1 - 2</h1>
    <div th:replace="~{/fragments/fragment1 :: part2}"></div>

    <h1>Layout 1 - 3</h1>
    <th:block th:replace="~{/fragments/fragment1 :: part3}"></th:block>
</body>
</html>
exLayout1.html 생성 (exLayout.thml 내용을 fragment1.html의 th:fragment에서 가져다 쓸 예정)
<!DOCTYPE html>
<html lang="en" xmlns:th="http://www.thymeleaf.org">
<head>
    <meta charset="UTF-8">
    <title>Title</title>
</head>
<body>
    <h1>Fragment Test</h1>

    <h1>Layout 1 - 1</h1>
    <div th:replace="~{/fragments/fragment1 :: part1}"></div>

    <h1>Layout 1 - 2</h1>
    <div th:replace="~{/fragments/fragment1 :: part2}"></div>

    <h1>Layout 1 - 3</h1>
    <th:block th:replace="~{/fragments/fragment1 :: part3}"></th:block>
</body>
</html>
실행 결과

- th:replace를 이용할 때 '::' 뒤에는 fragment의 이름을 지정하거나 CSS의 #ID같은 선택자를 이용할 수 있다, 만약 '::' 이하를 생략하면 해당 파일 전체 내용을 가져올 수 있다.
fragment2.html 작성
<!DOCTYPE html>
<html lang="en">
<head>
    <meta charset="UTF-8">
    <title>Title</title>
</head>
<body>
    <div>
        <hr/>
        <h2>Fragment2 File</h2>
        <h2>Fragment2 File</h2>
        <h2>Fragment2 File</h2>
        <hr/>
    </div>
</body>
</html>
fragment2.html 전체를 가져오도록 exLayout1.html 수정
<!DOCTYPE html>
<html lang="en" xmlns:th="http://www.thymeleaf.org">
<head>
    <meta charset="UTF-8">
    <title>Title</title>
</head>
<body>
    <h1>Fragment Test</h1>
    <div style="border: 1px solid blue">

    <th:block th:replace="~{/fragments/fragment2}"></th:block>

    </div>
    <h1>Layout 1 - 1</h1>
    <div th:replace="~{/fragments/fragment1 :: part1}"></div>

    <h1>Layout 1 - 2</h1>
    <div th:replace="~{/fragments/fragment1 :: part2}"></div>

    <h1>Layout 1 - 3</h1>
    <th:block th:replace="~{/fragments/fragment1 :: part3}"></th:block>
</body>
</html>
실행 화면

🤍타임리프 기본 사용법 (6) 레이아웃 템플릿 만들기
layout1.html 작성
<!DOCTYPE html>
<html lang="en" xmlns:th="http://www.thymeleaf.org">

<th:block th:fragment="setContent(content)">
<head>
    <meta charset="UTF-8">
    <title>Title</title>
</head>
<body>
    <style>
        *{
            margin: 0;
            padding: 0;
        }
        .header{
            width: 100vw;
            height: 20vh;
            background-color: aqua;
        }
        .content{
            width: 100vw;
            height: 70vh;
            background-color: lightgray;
        }
        .footer{
            width: 100vw;
            height: 10vh;
            background-color: green;
        }
    </style>

    <div class="header">
        <h1>HEADER</h1>
    </div>
    <div class="content">
        <th:block th:replace="${content}">
        </th:block>
    </div>
    <div class="footer">
        <h1>FOOTER</h1>
    </div>
</body>
</th:block>
</html>
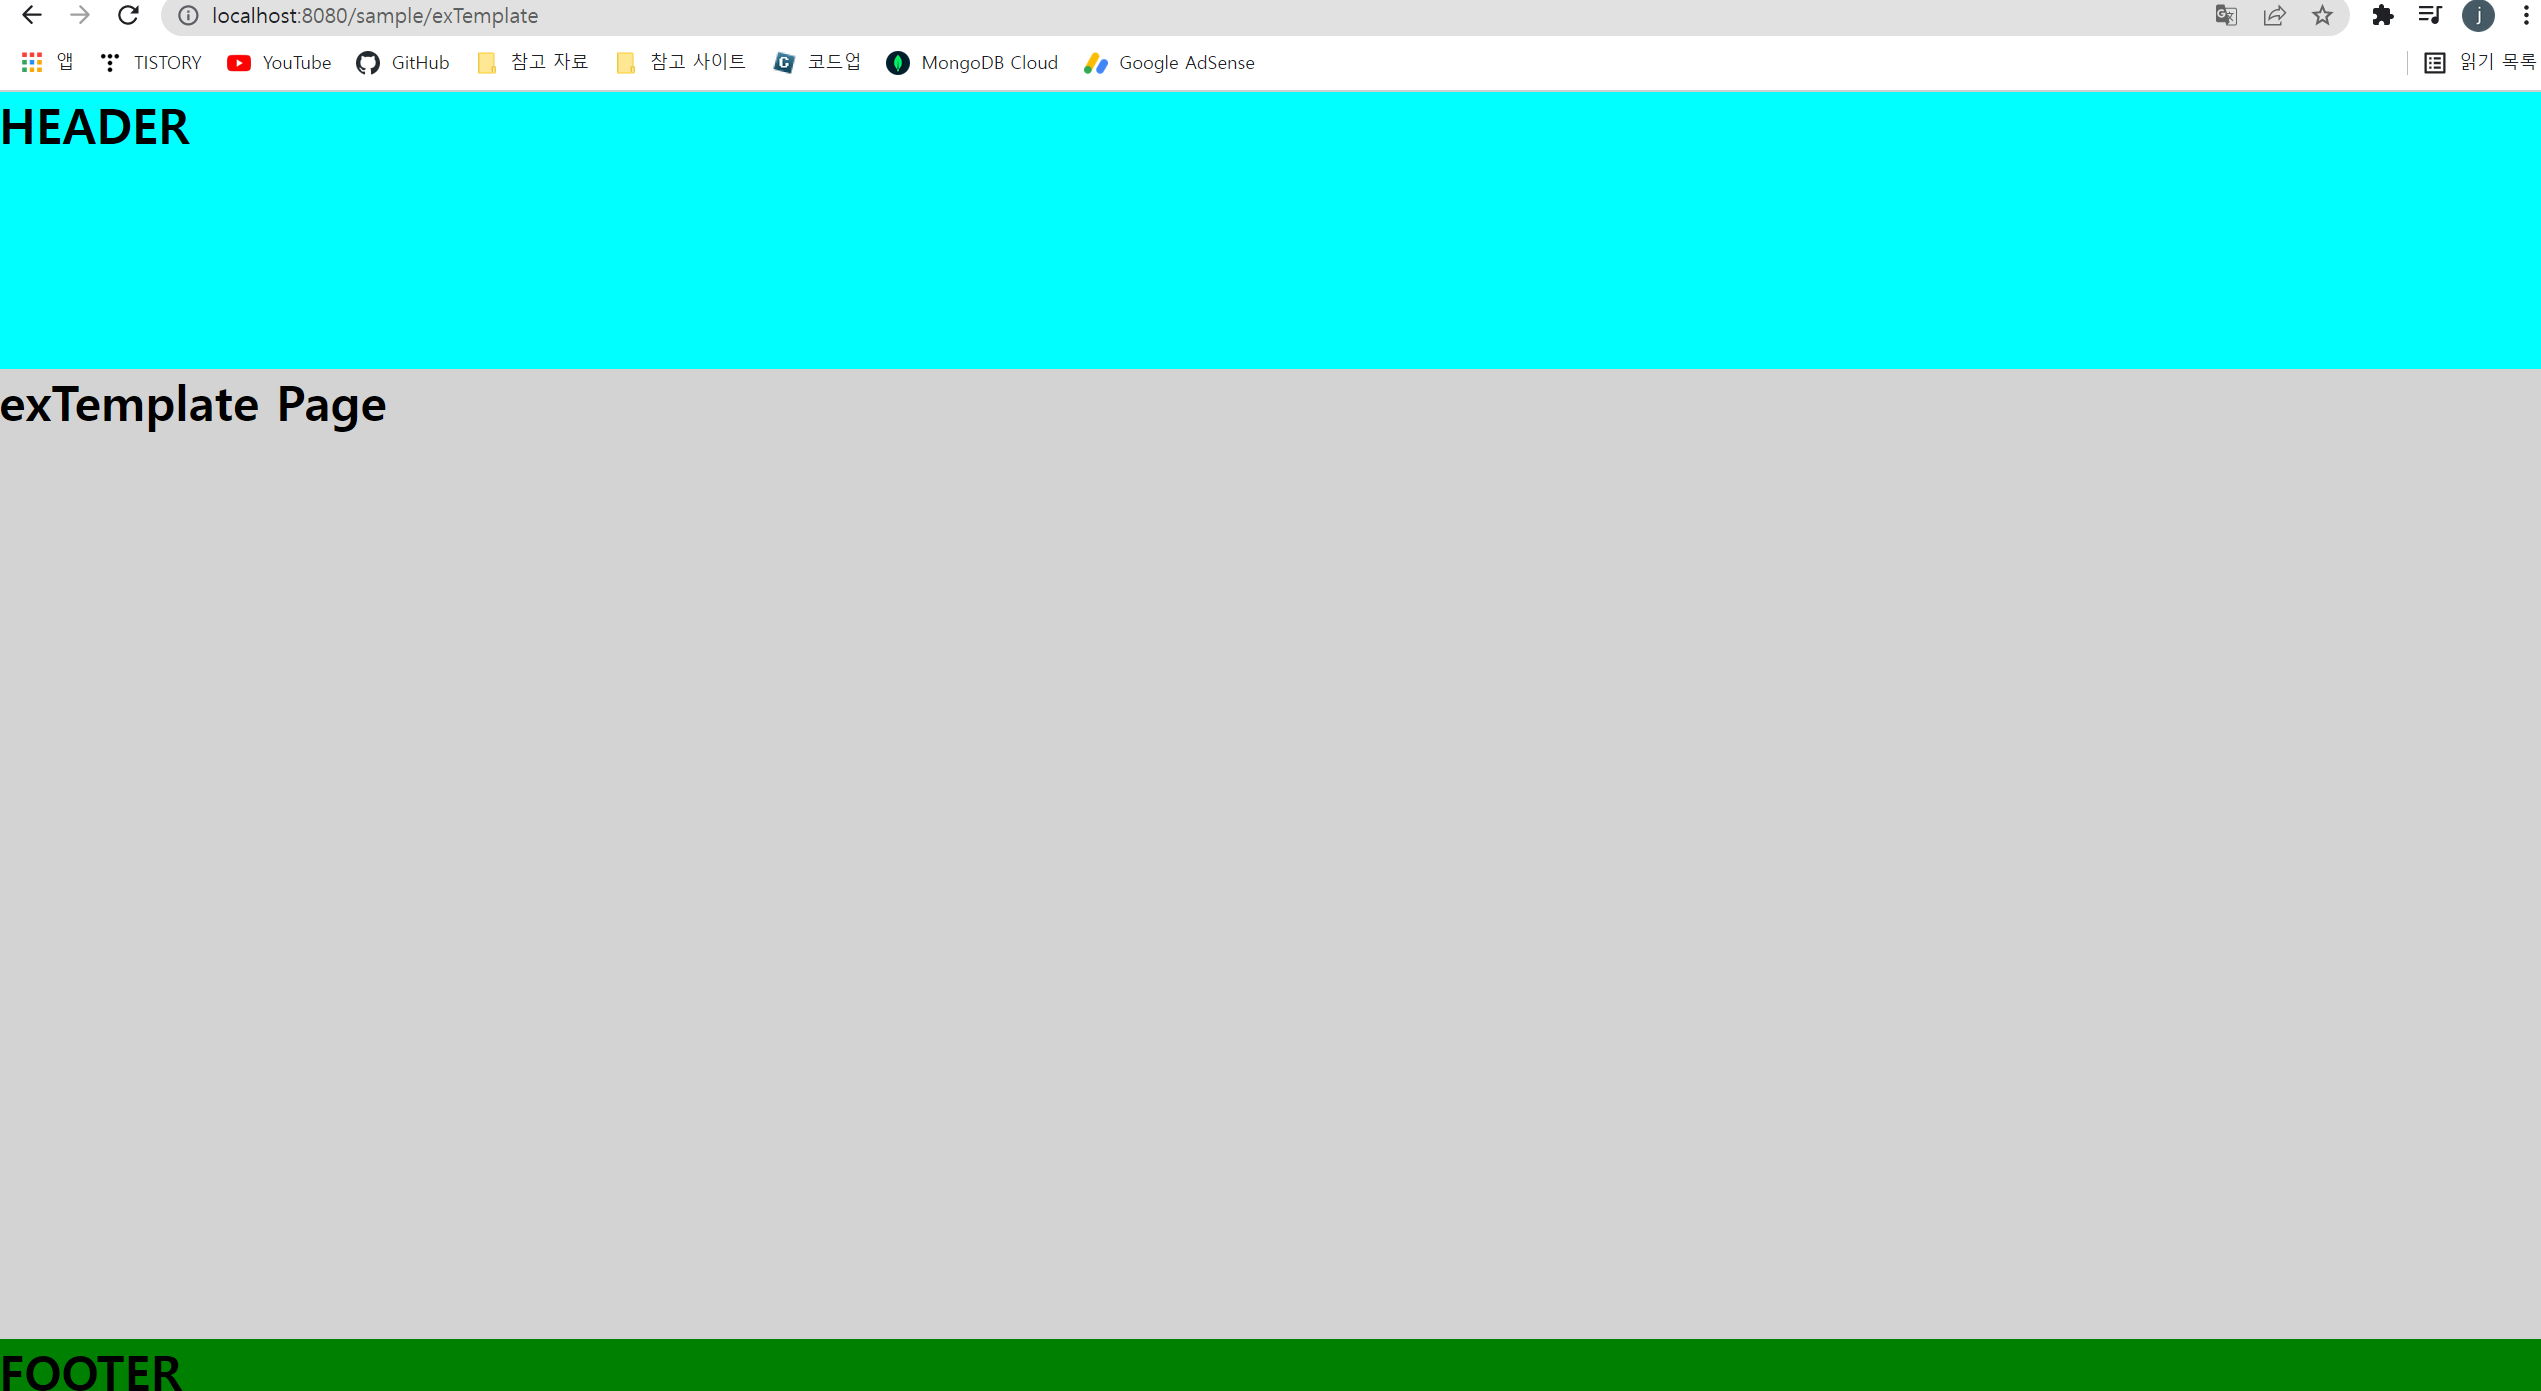
exTemplate.html 작성
<!DOCTYPE html>
<html lang="en"  xmlns:th="http://www.thymeleaf.org">
<th:block th:replace="~{/layout/layout1 :: setContent(~{this::content})}">
<head>
    <meta charset="UTF-8">
    <title>Title</title>
</head>
<body>
    <th:block th:fragment="content">
        <h1>exTemplate Page</h1>
    </th:block>
</body>
</th:block>
</html>
컨트롤러 수정
@GetMapping({"/exLayout1", "/exLayout2","/exTemplate"})
    public void exLayout1(){
        log.info("exLayout................");
    }
실행 결과
🤍부트스트랩 템플릿 적용하기

basic.html 작성
<!DOCTYPE html>
<html lang="en" xmlns:th="http://www.thymeleaf.org">

<th:block th:fragment="setContent(content)">

    <head>
        <meta charset="utf-8" />
        <meta name="viewport" content="width=device-width, initial-scale=1, shrink-to-fit=no" />
        <meta name="description" content="" />
        <meta name="author" content="" />
        <title>Simple Sidebar - Start Bootstrap Template</title>
        <!-- Favicon-->
        <link rel="icon" type="image/x-icon" th:href="@{assets/favicon.ico}" />
        <!-- Core theme CSS (includes Bootstrap)-->
        <link th:href="@{/css/styles.css}" rel="stylesheet" />

        <!-- Bootstrap core JS-->
        <script src="https://cdn.jsdelivr.net/npm/bootstrap@5.1.1/dist/js/bootstrap.bundle.min.js"></script>
        <!-- Core theme JS-->
        <script th:src="@{/js/scripts.js}"></script>
    </head>
    <body>
    <div class="d-flex" id="wrapper">
        <!-- Sidebar-->
        <div class="border-end bg-white" id="sidebar-wrapper">
            <div class="sidebar-heading border-bottom bg-light">Start Bootstrap</div>
            <div class="list-group list-group-flush">
                <a class="list-group-item list-group-item-action list-group-item-light p-3" href="#!">Dashboard</a>
                <a class="list-group-item list-group-item-action list-group-item-light p-3" href="#!">Shortcuts</a>
                <a class="list-group-item list-group-item-action list-group-item-light p-3" href="#!">Overview</a>
                <a class="list-group-item list-group-item-action list-group-item-light p-3" href="#!">Events</a>
                <a class="list-group-item list-group-item-action list-group-item-light p-3" href="#!">Profile</a>
                <a class="list-group-item list-group-item-action list-group-item-light p-3" href="#!">Status</a>
            </div>
        </div>
        <!-- Page content wrapper-->
        <div id="page-content-wrapper">
            <!-- Top navigation-->
            <nav class="navbar navbar-expand-lg navbar-light bg-light border-bottom">
                <div class="container-fluid">
                    <button class="btn btn-primary" id="sidebarToggle">Toggle Menu</button>
                    <button class="navbar-toggler" type="button" data-bs-toggle="collapse" data-bs-target="#navbarSupportedContent" aria-controls="navbarSupportedContent" aria-expanded="false" aria-label="Toggle navigation"><span class="navbar-toggler-icon"></span></button>
                    <div class="collapse navbar-collapse" id="navbarSupportedContent">
                        <ul class="navbar-nav ms-auto mt-2 mt-lg-0">
                            <li class="nav-item active"><a class="nav-link" href="#!">Home</a></li>
                            <li class="nav-item"><a class="nav-link" href="#!">Link</a></li>
                            <li class="nav-item dropdown">
                                <a class="nav-link dropdown-toggle" id="navbarDropdown" href="#" role="button" data-bs-toggle="dropdown" aria-haspopup="true" aria-expanded="false">Dropdown</a>
                                <div class="dropdown-menu dropdown-menu-end" aria-labelledby="navbarDropdown">
                                    <a class="dropdown-item" href="#!">Action</a>
                                    <a class="dropdown-item" href="#!">Another action</a>
                                    <div class="dropdown-divider"></div>
                                    <a class="dropdown-item" href="#!">Something else here</a>
                                </div>
                            </li>
                        </ul>
                    </div>
                </div>
            </nav>
            <!-- Page content-->
            <div class="container-fluid">
                <th:block th:replace = "${content}"></th:block>
            </div>
        </div>
    </div>
</th:block>


</body>
</html>
컨트롤러 수정
@GetMapping({"/exLayout1", "/exLayout2","/exTemplate", "/exSidebar"})
    public void exLayout1(){
        log.info("exLayout................");
    }
exSidebar.html 작성
<!DOCTYPE html>
<html lang="en" xmlns:th="http://www.thymeleaf.org">
<th:block th:replace="~{/layout/basic :: setContent(~{this::content})}">
<head>
    <meta charset="UTF-8">
    <title>Title</title>
</head>
<body>
    <th:block th:fragment="content">
        <h1>exSidebar Page</h1>
    </th:block>
</body>
</th:block>
</html>
실행 결과를 보면 레이아웃이 유지되는 상황에서 아래쪽에는 exSidebar.html의 내용을 그대로 출력하고 있는 것을 볼 수 있다.

'💻 my code archive > 🏷️JAVA & Spring(Boot)' 카테고리의 다른 글
| [스프링부트 블로그 만들기] 부트스트랩 적용하여 메인 화면 구현하기 (0) | 2022.03.17 |
|---|---|
| [스프링부트 블로그 만들기] 테이블 생성하고 CRUD 테스트 하기 (0) | 2022.03.17 |
| 스프링부트 공부기록(19) - MariaDB 설치, JPARepository 인터페이스 사용, 테스트 코드 CRUD 연습 (0) | 2022.03.16 |
| 스프링부트 공부기록(18) - 프로젝트 준비, 컨트롤러 실습, jar 파일 실행해보기 (0) | 2022.03.16 |
| [스프링부트 블로그 만들기] lombok 세팅 및 사용해보기 (0) | 2022.03.16 |