반응형
🤍글쓰기 구현하기
1.BoardController 작성
	//글쓰기
	@GetMapping("/board/saveForm")
	public String saveForm() {
		return "board/saveForm";
	}
2. saveForm.jsp 작성
<%@ page language="java" contentType="text/html; charset=UTF-8" pageEncoding="UTF-8"%>

<%@include file="../layout/header.jsp"%>

<div class="container">
	<form>
		<div class="form-group">
			<input type="text" class="form-control" placeholder="Enter title" id="title">
		</div>
		<div class="form-group">

			<textarea class="form-control summernote" rows="5" id="content"></textarea>
		</div>
	</form>
	<button id="btn-save" class="btn btn-primary">글쓰기 완료</button>
</div>

<script>
      $('.summernote').summernote({
        tabsize: 2,
        height: 300
      });
</script>
<script src="/js/board.js"></script>
<%@include file="../layout/footer.jsp"%>
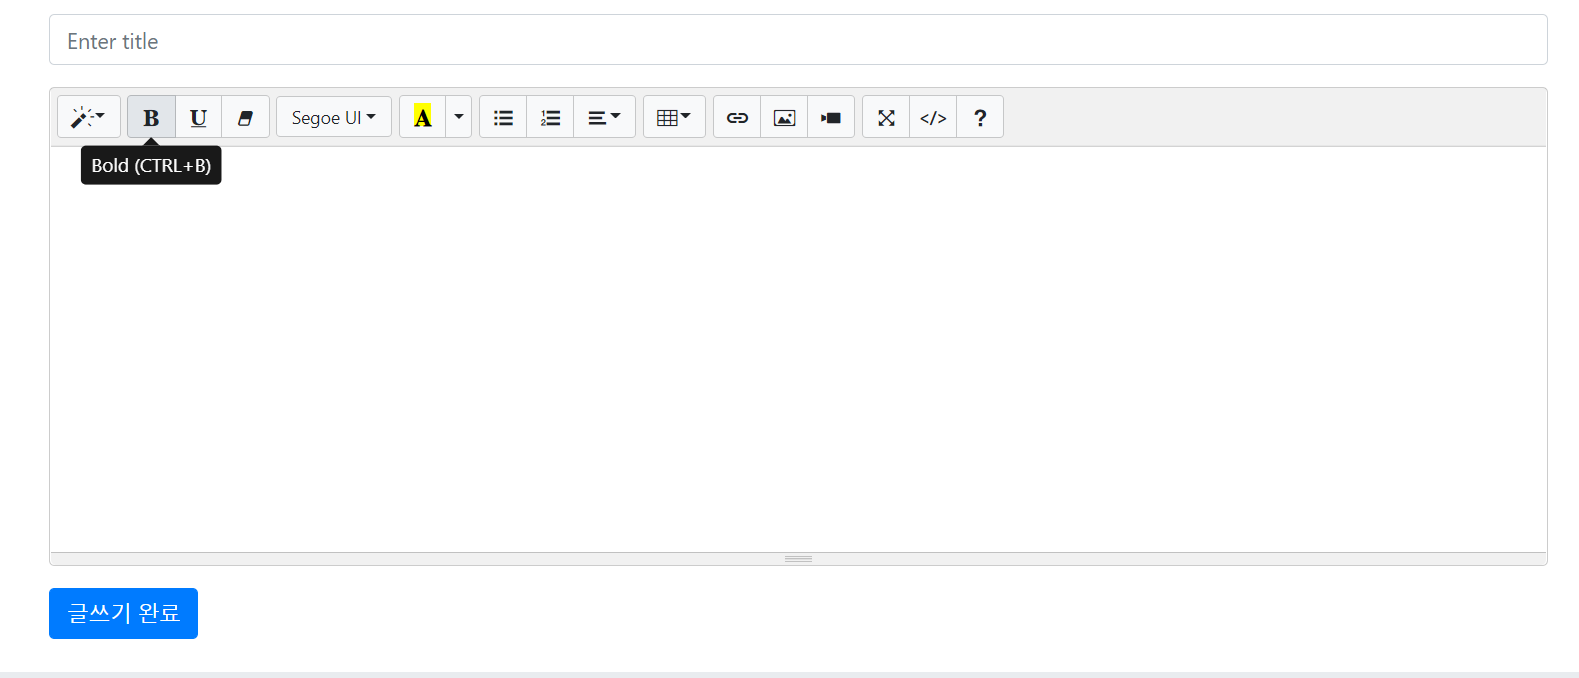
3. content 부분은 summernote를 적용했다. (For Bootstrap4)

적용한 모습

4. 글쓰기 버튼 클릭시 글이 등록되도록 board.js 작성
let index = {
	init: function() {
		$("#btn-save").on("click", () => {
			this.save();
		});
	},

	save: function() {
		//alert('user의 save함수 호출됨');
		let data = {
			title: $("#title").val(),
			content: $("#content").val()
		};

		$.ajax({
			//글쓰기 수행 요청
			type: "POST",
			url: "/api/board",
			data: JSON.stringify(data),
			contentType: "application/json; charset=utf-8",
			dataType: "json"

		}).done(function(resp) {
			alert("글쓰기가 완료되었습니다.");
			//console.log(resp);
			location.href = "/";

		}).fail(function(error) {
			alert(JSON.stringify(error));
		});

	}
 }
5. BoardApiController 작성
- saveForm에는 title, content 데이터만 담겨있기 때문에 principal에서 user 데이터를 가져옴.
	@PostMapping("/api/board")
	public ResponseDto<Integer> save(@RequestBody Board board, @AuthenticationPrincipal PrincipalDetail principal) {
		boardService.글쓰기(board, principal.getUser());
		return new ResponseDto<Integer>(HttpStatus.OK.value(),1);
	}
6. BoardService 작성
	@Transactional
	public void 글쓰기(Board board, User user) {	//title, content

		board.setCount(0);	//조회수 강제로 넣기
		board.setUser(user);
		boardRepository.save(board);
	}
7. 실행 화면


이미지도 잘 들어가는 것을 확인할 수 있다.

🤍글 목록보기 구현하기
1. BoardApiController 작성
	@GetMapping({"","/"})
	public String index(Model model, @PageableDefault(size = 3, sort = "id", direction = Direction.DESC) Pageable pageable) {

		model.addAttribute("boards", boardService.글목록(pageable));

		//WEB-INF/views/index.jsp
		return "Index";
	}
2. Index.jsp에 데이터 뿌리기
<c:forEach var="board" items="${boards.content }">
	<div class="card m-2">
		<div class="card-body">
			<h4 class="card-title">${board.title }</h4>
			<a href="/board/${board.id }" class="btn btn-primary">상세보기</a>
		</div>
	</div>
3. BoardService 작성
@Transactional(readOnly = true)
	public Page<Board> 글목록(Pageable pageable) {

		return boardRepository.findAll(pageable);
	}
4. 글목록 확인하기

🤍글 목록 페이징 구현하기
1. 컨트롤러에 한 페이지에 3개씩 뜨도록 코드를 작성해 두었다.
@PageableDefault(size = 3, sort = "id", direction = Direction.DESC) Pageable pageable
2. BoardService의 글목록 메서드의 매개변수에 Pageable을 추가한다.

3. 부트스트랩의 Pagination 코드를 가져와서 사용한다.

4. Index.jsp에 추가한다.
- 첫 번째 페이지일 때에는 disabled을 적용하여 클릭을 비활성화시키고
- 그렇지 않을 때에는 disabled를 적용하지 않음. (c:choose, c:when, c:otherwise)
- 이전 페이지 이동은 ?page=${boards.number-1}, 다음 페이지 이동은 ?page=${boards.number+1} 로 구현함.
<ul class="pagination justify-content-center">
<c:choose>
	<c:when test="${boards.first }">
		<li class="page-item disabled"><a class="page-link" href="?page=${boards.number-1 }">Previous</a></li>
	</c:when>
	<c:otherwise>
		  <li class="page-item"><a class="page-link" href="?page=${boards.number-1}">Previous</a></li>
	</c:otherwise>
</c:choose>

<c:choose>
	<c:when test="${boards.last }">
		<li class="page-item disabled"><a class="page-link" href="?page=${boards.number+1 }">Next</a></li>
	</c:when>
	<c:otherwise>
		  <li class="page-item"><a class="page-link" href="?page=${boards.number+1}">Next</a></li>
	</c:otherwise>
</c:choose>
</ul>
5. 페이징 구현 완료

반응형
'💻 my code archive > 🏷️JAVA & Spring(Boot)' 카테고리의 다른 글
| 스프링부트 공부기록(26) - 영화 리뷰 프로젝트 :: 다대다 관계 설계 (0) | 2022.03.20 |
|---|---|
| [스프링부트 블로그 만들기] 글 상세보기, 글 삭제하기, 글 수정하기 구현하기 (0) | 2022.03.19 |
| [스프링부트 블로그 만들기] 비밀번호 해쉬화(암호화), 스프링 시큐리티 로그인 구현하기 (0) | 2022.03.19 |
| 스프링부트 공부기록(25) - 게시판 프로젝트, @RestController, JSON, Ajax 댓글 처리 (1) | 2022.03.19 |
| 스프링부트 공부기록(24) - 다대일 연관관계 데이터베이스 설계, 게시판 프로젝트, JPQLQuery (0) | 2022.03.18 |
